How to Repair Rock Chips on Your Windshield
Over your car’s lifetime, its windshield will take hits from debris cast up from the road. Typically the impact is harmless and the debris pops off. Other times a chip or crack is left. Deep chips and fissures often result in scheduling an auto glass replacement.
But if the damage is small, you can repair it on your own. As a general rule, if the chip is larger than a quarter or the crack is longer than three inches, you’ll need auto glass repairs or replacement. If the damage isn’t surface level, and you’ve had glass pieces flake off, you’ll need auto glass replacement from your local glass repair shop.
A windshield repair kit can plug in minor damage
You can purchase a repair kit from your local retailer, auto parts dealer, or if you’re not in a rush, Amazon. Popular kits contain resin, which you’ll fill into the chip or crack.
If the kit doesn’t contain the following, make sure you have them on hand: razor blade, auto glass cleaner, paper towels, and tape.
A typical repair kit will walk you through the following steps:
- Clean around the chip and remove loose glass
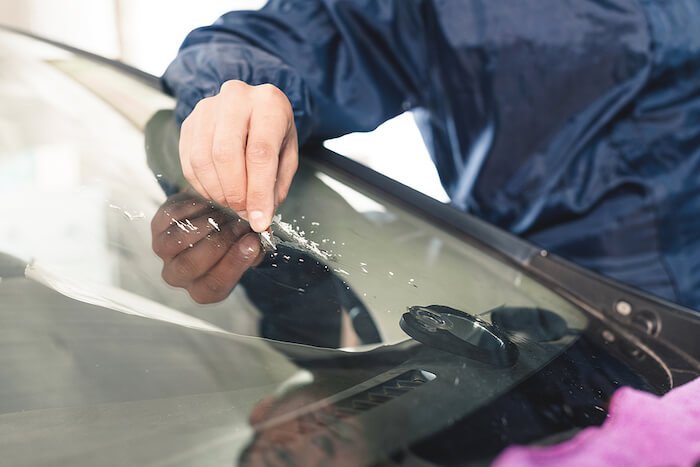
Use your auto glass cleaner on the area surrounding the chip. Then use your razor blade to carefully pick out any loose pieces of glass remaining in the damaged area.
- Position the suction cup tool
Position the suction cup tool over the center of the damage. Press the suction cups to secure firmly to the windshield. You can adjust the arms above the suction cups to adjust the tool if it’s not centered directly above the damage.
- Thread the repair tube into the suction cup tool
Thread the repair tube into the suction cup’s threaded center. Screw the tube in slowly and carefully until the tube’s end is on top of the damage.
- Apply the resin through the repair tube
Gently squeeze the resin into the repair tube, applying as much as your repair kit instructs.
- Insert and tighten the plunger
Insert the plunger into the repair tube and tighten it to force the resin into the chip. Loosen the plunger to allow air bubbles to escape, then tighten again.
- Remove the suction cup tool and place the finishing film over the repaired area
After placing the finishing film, use the razor blade to push the resin outward and toward the edges of the film. Then tape the film to the windshield to secure the film while the resin dries.
- Remove the film and scrape excess resin with the razor blade
After ten minutes, remove the film. If the resin is still wet, add another drop of resin and apply a new piece of finishing film. After the resin is completely dry, carefully use the razor blade to scrape away excess resin.
Auto glass replacement at Dan’s Glass
If windshield repair kits won’t seal up the damage, auto glass replacement experts at Dan’s Glass can help you finish the job.
Dan’s Glass has been providing quality and professional services for auto, residential, and commercial glass since 1979. Contact us today to learn how our auto glass replacement services can fix your damaged windshield.
Tags: auto glass replacement

